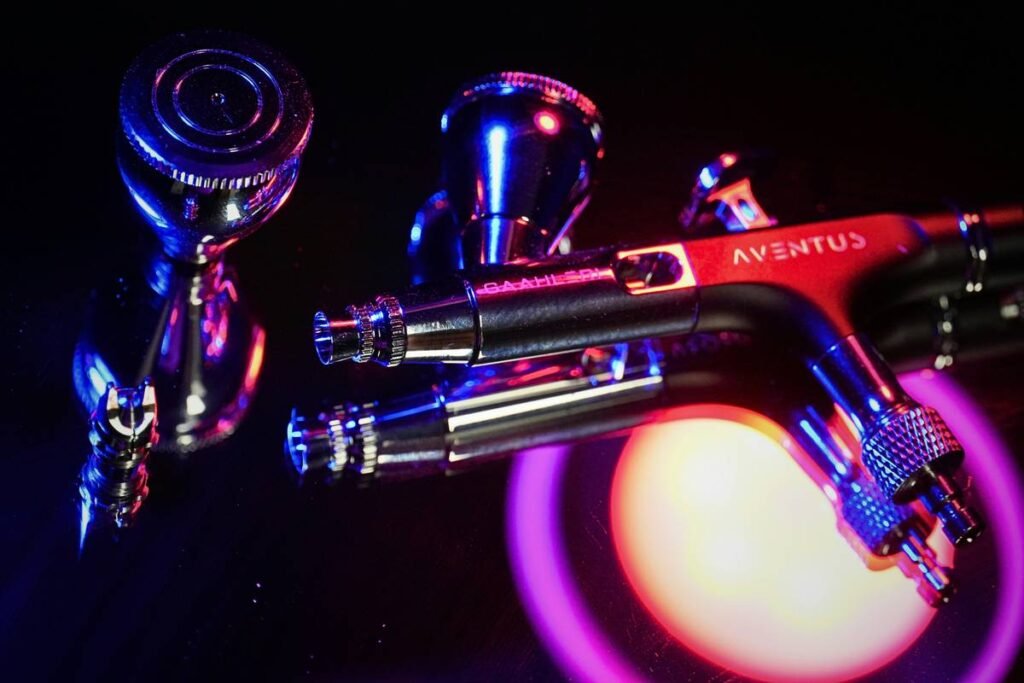
Ever spent 20 minutes disassembling your airbrush only to watch paint crust over mid-cleaning like a dried-out science experiment? You’re not alone—and spoiler: it’s probably because you’ve been mixing up airbrush cleaner and airbrush thinner. I’ve ruined three needle caps, two spray patterns, and one perfectly good batch of walnut-hued glaze (yes, on my kitchen backsplash mockup) because I assumed they were interchangeable. They’re not.
In this post, you’ll learn exactly what each product does, when to use which (and why), real-world performance comparisons from my workshop bench, and the one “terrible tip” that could corrode your airbrush in under 48 hours. We’ll also bust myths, cite manufacturer specs from Badger, Paasche, and Iwata, and—most importantly—give you a no-BS protocol so your next cleanup takes 90 seconds, not 30 minutes.
Table of Contents
- Key Takeaways
- Why Confusing Them Is Costing You Time (and Money)
- Step-by-Step: How to Clean vs. Thin Like a Pro
- Best Practices for Long-Term Airbrush Health
- Real-World Case Study: My Kitchen Backsplash Disaster
- FAQ: Airbrush Cleaner vs Thinner
- Conclusion
Key Takeaways
- Airbrush cleaner is a solvent-based solution designed to dissolve dried or cured paint residue from internal parts—used after painting.
- Airbrush thinner adjusts the viscosity of wet paint for optimal atomization—used during painting, not cleaning.
- Using thinner as a cleaner leaves oily residues that attract dust and degrade seals over time (confirmed by Iwata’s 2023 maintenance bulletin).
- Water-based cleaners work for acrylics; lacquer-based cleaners are needed for enamels or urethanes.
- Never soak brass or aluminum parts in aggressive cleaners for more than 10 minutes—corrosion risk spikes after that.
Why Confusing Them Is Costing You Time (and Money)
If you’re using kitchen-grade mineral spirits to “thin” your cabinet stain while simultaneously dunking your airbrush in it for cleanup, stop. Right now. That shortcut isn’t saving time—it’s inviting micro-clogs, inconsistent spray patterns, and premature wear on your needle bearing.
Here’s the core issue: cleaners and thinners serve fundamentally different chemical purposes. A thinner modifies paint flow by reducing surface tension without breaking molecular bonds in dried pigment. A cleaner, however, contains stronger solvents (like acetone, amyl acetate, or denatured alcohol) engineered to dissolve polymerized resin or acrylic films clinging to metal surfaces.
Badger Air-Brush Co., a leader in precision tools since 1940, explicitly warns in their technical documentation that using thinner for cleaning “fails to remove cured deposits and may leave behind plasticizers that swell O-rings.” Translation? Your $200 airbrush starts leaking like a sieve.

Grumpy Optimist Dialogue
Optimist You: “Just grab whatever’s in the shop—I’ll rinse it well!”
Grumpy You: “Ugh, fine—but only if you enjoy replacing $85 nozzle assemblies every six months.”
Step-by-Step: How to Clean vs. Thin Like a Pro
How do I know which product to use?
Check your paint type first:
- Water-based acrylics (e.g., Createx, Golden): Use distilled water + airbrush cleaner for deep cleans. Thinning ratio: 10–30% water or dedicated acrylic reducer.
- Solvent-based enamels/lacquers (e.g., Testors, Mr. Color): Use lacquer thinner to adjust viscosity. For cleaning: lacquer-based airbrush cleaner (not generic hardware-store thinner!).
When should I clean vs. thin?
Thinning happens BEFORE spraying: Mix paint + thinner in your gravity cup until it flows like skim milk off a stir stick.
Cleaning happens IMMEDIATELY AFTER spraying: Flush with cleaner through the airbrush while air is still flowing—or risk overnight clogs.
What’s the correct cleaning technique?
- Empty remaining paint into a waste jar.
- Fill cup with appropriate cleaner (e.g., Medea Airbrush Cleaner for acrylics).
- Spray until fluid runs clear (~30 sec).
- Disassemble needle cap/nozzle only if switching colors or storing >24 hrs.
- Soak stubborn parts max 5–10 mins—then scrub gently with a nylon brush (never metal!).
Best Practices for Long-Term Airbrush Health
After 12+ years restoring vintage kitchen cabinets and custom-painting range hoods, I’ve learned these non-negotiables:
- Never use acetone-based cleaners on Teflon or Delrin parts—they cause micro-fractures. Stick to manufacturer-recommended formulas.
- Label every bottle. I once used enamel reducer in an acrylic project… let’s just say my farmhouse sink mural looked like a Jackson Pollock outtake.
- Rinse with distilled water after solvent cleaning to neutralize residues (especially critical for food-safe applications like painted countertops).
- Store your airbrush vertically with needle retracted—gravity won’t drain leftover cleaner onto seals.
- Replace cleaning fluid weekly—used cleaner loses potency and becomes a bacterial soup. Sounds gross? It is.
⚠️ Terrible Tip Disclaimer
“Just soak it overnight in nail polish remover!” NO. Acetone concentrations in most removers exceed 60%, far above the 10–15% safe threshold for brass components. One friend did this—and his Badger 150 seized permanently. Don’t be that person.
Real-World Case Study: My Kitchen Backsplash Disaster
Last fall, I was refinishing a client’s 1950s-style kitchen. The plan: hand-paint Moroccan tile motifs on tempered glass using Createx Wicked Colors. I thinned with distilled water (correct), but for cleanup between sessions, I lazily reused the same cup of “universal thinner” I’d grabbed from my auto-body stash.
By day three, my spray pattern feathered inconsistently. Day four? Complete clog during a tight corner pass. Upon disassembly, I found a gummy amber film coating the needle valve—residue from the enamel-based thinner, incompatible with acrylics.
I switched to Medea Airbrush Cleaner, soaked parts for 7 minutes, and restored full function. Total downtime: 2 hours. Lesson cost: $0 (thanks to proper tools)—but it could’ve been $120 for a new head assembly.
FAQ: Airbrush Cleaner vs Thinner
Can I use rubbing alcohol as airbrush cleaner?
For water-based acrylics, 90%+ isopropyl alcohol works in a pinch—but it evaporates too fast for deep soaking and lacks corrosion inhibitors. Not ideal for regular use.
Is airbrush thinner the same as paint thinner?
No. “Paint thinner” is a generic term for mineral spirits—too weak for airbrushes. Airbrush-specific thinners are formulated for precise viscosity control and pigment suspension.
How often should I deep-clean my airbrush?
After every session if using solvent-based paints. For acrylics, daily flushing suffices unless switching colors or storing.
Can I mix cleaner and thinner?
Absolutely not. Mixing solvents can create unstable compounds or reduce cleaning efficacy. Always use dedicated products.
Conclusion
Airbrush cleaner and thinner aren’t rivals—they’re teammates with strictly defined roles. Cleaner rescues your hardware from dried paint; thinner ensures flawless application. Confusing them leads to poor finishes, costly repairs, and unnecessary frustration—especially when you’re detailing a custom range hood at 10 PM before a client walkthrough.
Stick to manufacturer guidelines (Iwata, Badger, and Paasche all publish detailed compatibility charts), match your solvent to your paint base, and never skip post-session flushing. Your airbrush—and your kitchen renovation timeline—will thank you.
Like a Tamagotchi, your airbrush needs daily care. Neglect it, and it dies. Nurture it, and it paints butter-smooth gradients for decades.