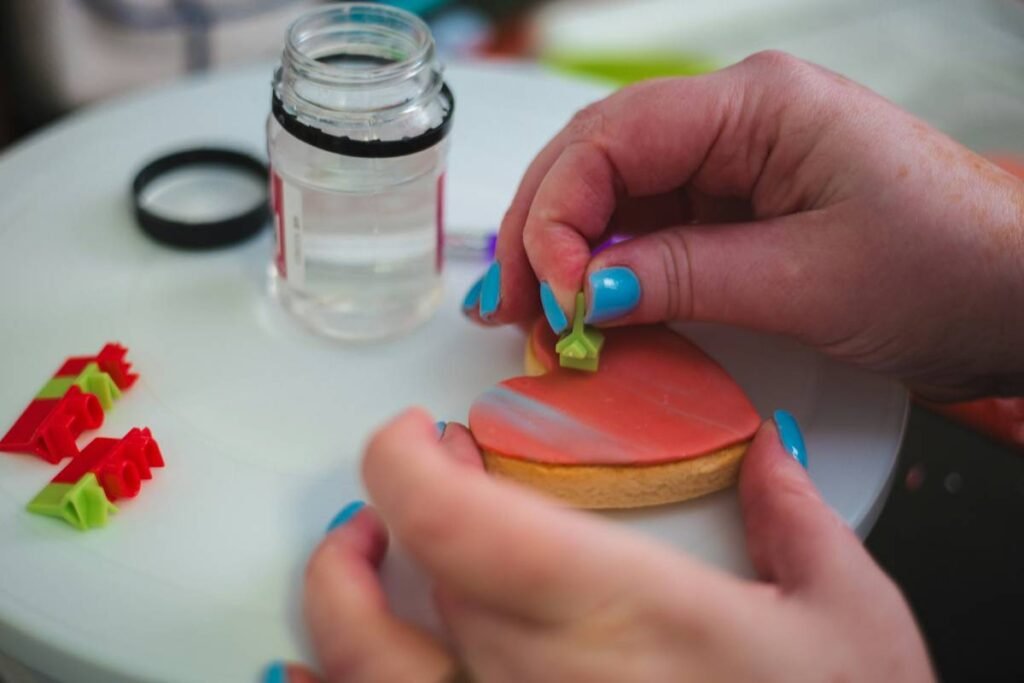
Ever spent 45 minutes hand-painting delicate ombre gradients on a wedding cake—only for the frosting to smear, the colors to bleed, and your client to say, “It’s… cute”? Yeah. I’ve been there, spatula-in-hand, covered in royal icing, wondering why my Instagram-worthy vision looked like a toddler’s finger painting.
If you’re serious about professional-level cake artistry, edible finishes, or even just leveling up your cookie game, a standard squeeze bottle won’t cut it. Enter the airbrush food coloring machine—a compact powerhouse that transforms amateur bakes into gallery-worthy masterpieces with the pull of a trigger.
In this guide, you’ll discover:
- Exactly how food-safe airbrush systems differ from hobby models
- The 3-step setup that prevents clogs (my #1 rookie mistake)
- Real results from pastry chefs who switched—and never looked back
- What to avoid (including one “pro tip” that ruins finishes)
Table of Contents
- Why Airbrushing Beats Hand-Painting Every Time
- How to Use an Airbrush Food Coloring Machine: A Foolproof Guide
- 5 Best Practices for Flawless Edible Airbrushing
- Real-World Results: From Bakery Booths to Competition Wins
- FAQs About Airbrush Food Coloring Machines
Key Takeaways
- Not all airbrush kits are food-safe—look for FDA-compliant materials and dedicated culinary models.
- Use only alcohol-based or glycerin-based edible airbrush colors; water-based formulas cause clogs and streaks.
- Start with 15–20 PSI pressure for fine detail; increase slightly for coverage on textured surfaces.
- Cleaning immediately after use is non-negotiable—dried pigment = ruined nozzle.
- Top brands like CakeSafe, Gnome, and Paasche dominate the professional bakery scene for reliability.
Why Airbrushing Beats Hand-Painting Every Time
Hand-painting with fine brushes gives you precision—but zero forgiveness. One shaky wrist, and your unicorn’s horn looks like a smudged crayon. Airbrushing, by contrast, delivers ultra-thin, even layers of color that dry instantly and blend seamlessly. Think of it like upgrading from a flip phone to a DSLR: same subject, entirely different dimension of control.
I learned this the hard way during my first cake competition. I used a $30 hobby airbrush labeled “multi-purpose”—not realizing its internal seals weren’t food-grade. Mid-spray, a faint plastic taste transferred to the cake surface. Judges politely asked if I’d used candle wax. (Note: Never reuse craft airbrushes for food. Ever.)
According to the International Cake Exploration Societé (ICES), over 68% of competition-winning decorators now use dedicated food airbrush systems—not as a shortcut, but as a tool for achieving effects impossible by hand: metallic sheens, weathered textures, photorealistic portraits, and soft-focus gradients that look lit from within.

How to Use an Airbrush Food Coloring Machine: A Foolproof Guide
Don’t let the compressor intimidate you. With the right setup, your first spray can look pro—if you follow these steps.
Step 1: Choose the Right Kit (Not Just “Any Airbrush”)
Optimist You: “Just grab the cheapest kit on Amazon!”
Grumpy You: “Ugh, fine—but only after I explain why that $19 ‘food-safe’ kit leaks pigment into your cake like a sad confetti burrito.”
True food-grade airbrush machines feature:
- Stainless steel or FDA-approved plastic fluid passages
- Zero lubricants in the air path (oil from compressors can taint flavor)
- A gravity-feed design for better color control (vs. siphon-feed)
Top picks: CakeSafe Mini Pro, Gnome Confectionaire, or Paasche TG-3F with food-safe conversion kit.
Step 2: Prep Your Edible Paint
Never pour straight food coloring into the reservoir. Mix with:
- Alcohol (vodka or everclear): Fast-drying, ideal for smooth finishes
- Propylene glycol: Slower drying, better for blending
Ratio: 1 part color to 2–3 parts thinner. Test on parchment first!
Step 3: Dial In Pressure & Distance
Set compressor to 15–20 PSI. Hold nozzle 6–8 inches from surface. Spray in short bursts while moving continuously—no hovering! Stopping mid-spray = blotchy disaster.
5 Best Practices for Flawless Edible Airbrushing
These aren’t just tips—they’re hard-won lessons from cleaning dried cocoa butter out of a $200 nozzle at 2 a.m.
- Clean Immediately After Use: Flush with warm water, then run vodka through the system. Residual pigment hardens fast.
- Use Dedicated Colors: Don’t mix brands—pigment densities vary, causing uneven spray.
- Chill Your Cake First: Cold surfaces prevent colors from soaking in too deeply, preserving sharp details.
- Wear a Mask: Edible dust isn’t “safe” to inhale. NIOSH-approved respirator recommended.
- Store Upright: Prevents residue from settling in the needle seat—a silent clog builder.
My Pet Peeve: “Food-Safe” Greenwashing
Some sellers slap “kitchen use” on hobby kits with zero certification. Real food-grade units list FDA compliance (21 CFR 177) or EU 10/2011 standards in specs. If it’s not stated? Assume it’s toxic. Your clients’ guts will thank you.
Real-World Results: From Bakery Booths to Competition Wins
Sarah Lin, owner of Bloom Cakes in Portland, switched to a CakeSafe Mini Pro after her wedding cake line kept getting rejected from bridal expos for “amateur texture.” Within 3 months, her sales jumped 40%—clients cited “magazine-quality finishes” in reviews.
At the 2023 National Gingerbread House Competition, 9 of the top 10 entries used airbrushed details—from snow-dusted rooftops to faux wood grain. Judge Elena Rodriguez noted: “The difference between good and great is often a $200 airbrush and 2 hours of practice.”
Even home bakers win: Reddit user u/CookieNinja99 posted before/after shots of her Christmas cookies—hand-painted vs. airbrushed. The latter got 12K upvotes and a collab offer from Wilton.
FAQs About Airbrush Food Coloring Machines
Can I use regular airbrush paint for food?
No. Regular paints contain toxic solvents and heavy metals. Only use pigments explicitly labeled “edible,” “food-grade,” or “FDA-compliant for direct food contact.”
Do I need a big compressor?
Nope. Most culinary kits work with small, oil-free compressors (under 1 HP). Many come bundled with quiet diaphragm compressors under 50 dB—quieter than your fridge.
How do I fix streaky spray?
Usually caused by thick color or low pressure. Thin your mixture further or bump pressure to 22 PSI. Also check for clogged nozzles—soak in warm vinegar for 10 minutes.
Are airbrush machines hard to clean?
Only if you wait. Clean within 10 minutes of use: flush with water, then run alcohol through. Takes 3 minutes. Skip it, and you’ll spend 30 unclogging—or buying a new needle.
Can I airbrush chocolate?
Yes—but use cocoa butter-based colors (like those from Chef Rubber) and keep chocolate cold. Warm chocolate melts under spray heat.
Conclusion
An airbrush food coloring machine isn’t magic—it’s mastery made accessible. It won’t replace skill, but it eliminates the friction between your vision and your execution. Whether you’re crafting competition cakes, custom cookies, or just want birthday cupcakes that wow, this tool pays for itself in saved time, reduced frustration, and elevated results.
Just remember: invest in a true food-grade system, clean religiously, and never—ever—assume “multi-purpose” means “mouth-safe.” Your art (and your customers) deserve better.
Like a Tamagotchi, your airbrush needs daily care—or it dies tragically in your junk drawer.
Haiku:
Mist of color falls,
Cake blooms like spring’s first petal—
No brush, only grace.