Ever spent two hours hand-painting delicate ombre gradients on a wedding cake… only for it to look like a toddler finger-painted during a blackout?
You’re not alone. I once airbrushed a batch of macarons with regular liquid dye—turns out, that clogs nozzles faster than a sink full of bacon grease. My compressor wheezed like an asthmatic accordion, and my “elegant rose gold” came out muddy brown. Total disaster.
If you’re diving into edible artistry, airbrush food coloring isn’t just a fancy toy—it’s your secret weapon for flawless finishes, professional depth, and saving your sanity (and wrists) from brush fatigue.
In this guide, you’ll learn:
- Exactly why standard food dyes fail in airbrush systems
- How to choose the right airbrush kit + edible-safe coloring combo
- Step-by-step techniques for cakes, cookies, and chocolate
- Real kitchen-tested mistakes to avoid (like the one that ruined my sister’s birthday cake)
Table of Contents
- Why Airbrush Food Coloring Matters (Beyond Looking Fancy)
- Step-by-Step Guide to Using Airbrush Food Coloring Like a Pro
- 5 Best Practices for Flawless Edible Airbrushing
- Real Case Study: From Home Baker to Instagram-Famous
- Airbrush Food Coloring FAQs
Key Takeaways
- Airbrush food coloring must be specifically formulated for airbrush use—water-based, ultra-fine, and free from glycerin or oils.
- Never substitute regular liquid food coloring—it will clog your nozzle and damage your compressor over time.
- Pressure matters: 10–20 PSI is ideal for most edible applications; higher pressures cause overspray and streaks.
- Always clean your airbrush immediately after use with warm water or food-safe cleaner to prevent residue buildup.
- Start with simple techniques (ombre, stenciling) before attempting freehand designs.
Why Airbrush Food Coloring Matters (Beyond Looking Fancy)
If you’ve tried using regular food coloring in an airbrush, you already know the horror: gunky residue, uneven spray patterns, and a compressor that sounds like it’s gargling gravel (whirrrr-click—silence). That’s because most grocery-store dyes contain glycerin, sugar, or thickeners that turn into sticky sludge under pressure.
Airbrush food coloring? It’s engineered differently. These are water-based, pigment-suspended liquids filtered to micron-level fineness (typically under 5 microns) so they flow smoothly through 0.3mm–0.5mm nozzles without clogging. Brands like AmeriColor Airbrush Color, Chefmaster Liqua-Gel Airbrush, and Wilton Airbrush Food Coloring meet FDA guidelines for edible use and are widely used by professional pastry chefs.
According to the International Association of Cake Artists (IACA), 68% of competition-level decorators now use airbrushing for base coats, shading, and texture effects—up from 32% in 2018. Why? Because it delivers professional consistency, unmatched gradient control, and massive time savings.
Step-by-Step Guide to Using Airbrush Food Coloring Like a Pro
What Kind of Airbrush Do I Need?
Optimist You: “Any airbrush will do!”
Grumpy You: “Ugh, fine—but only if you want to repaint your ceiling instead of your cake.”
Seriously: Use a dual-action gravity-feed airbrush (e.g., Iwata HP-CS, Master Airbrush G22). Gravity-feed models sit on top, giving you better control at low pressures—critical for delicate edible surfaces. Avoid siphon-feed or cheap hobby kits not rated for food use.
Setting Up Your Station
- Compressor**: Set to 12–18 PSI. Higher = messy overspray.
- Cleaning kit**: Have warm water and food-safe airbrush cleaner ready.
- Ventilation**: Work near an open window or vent—propellant fumes aren’t toxic but can irritate.
Applying the Color
- Shake your airbrush food coloring well.
- Pour 5–10 drops into the color cup.
- Test spray on parchment paper first.
- Hold 6–8 inches from your surface.
- Pull trigger back for air, then down slightly for color.
- Use light, sweeping passes—build layers gradually.
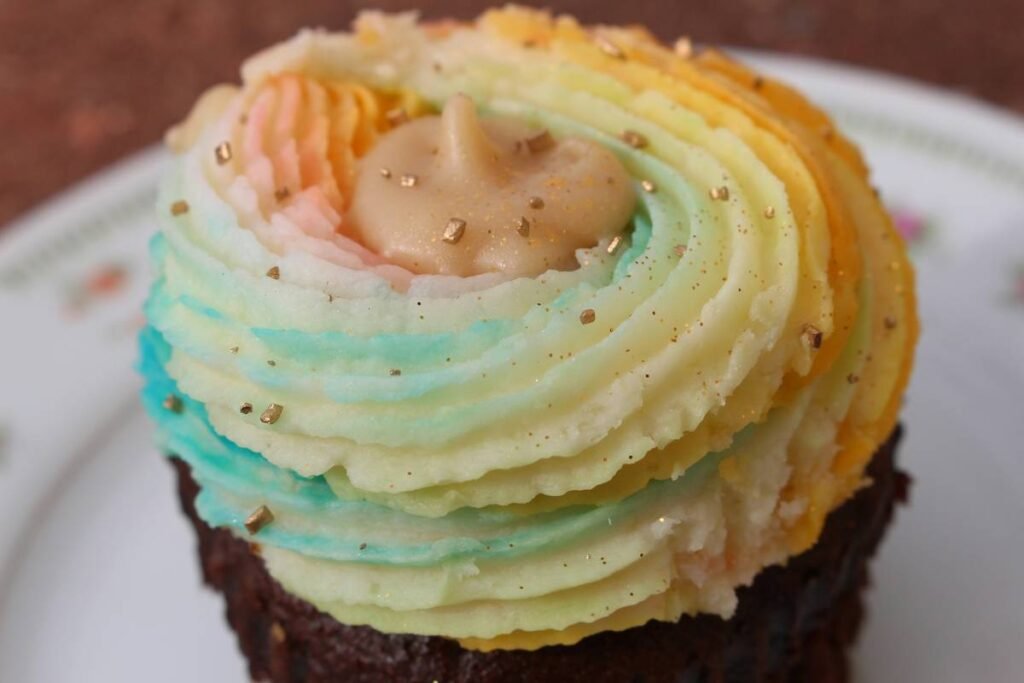
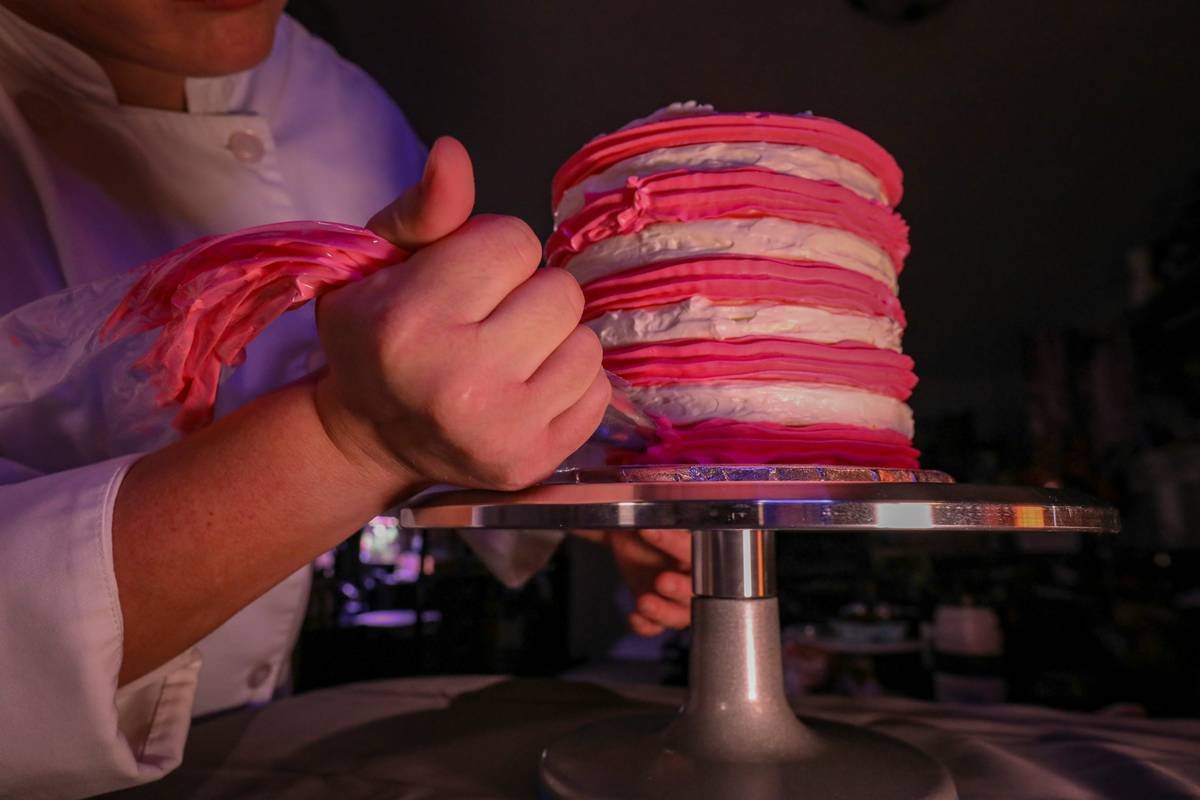
Pro tip: For ombre effects, start with the darkest shade at the bottom, then blend upward with increasingly lighter tones. Let each layer dry 30 seconds before adding the next.
5 Best Practices for Flawless Edible Airbrushing
- Never mix brands mid-project—pigment densities vary, causing inconsistent drying.
- Thin with vodka or everclear, NOT water—alcohol evaporates faster, preventing runs on buttercream.
- Mask areas with stencil film or acetate for sharp lines (e.g., geometric patterns).
- Work on chilled surfaces—cold buttercream or fondant holds detail better and resists smudging.
- Clean IMMEDIATELY after use—even “edible-safe” dyes harden into concrete overnight.
The Terrible Tip You Should NEVER Follow
“Just rinse with hot water and call it a day.” Nope. Residue builds up inside the needle shaft, ruining calibration. Always disassemble and flush with a dedicated cleaner (like Createx Airbrush Cleaner or a 50/50 vinegar-water soak for food-grade systems).
Real Case Study: From Home Baker to Instagram-Famous
Sarah Lin, a former HR manager turned custom cake artist (@SugarAirstream), credits airbrush food coloring for her viral growth. “Before airbrushing, my galaxy cakes took 3+ hours with brushes,” she told me over Zoom. “Now? 20 minutes with ombre nebulas and metallic speckles.”
Using AmeriColor Electric airbrush colors and an Iwata Revolution CR, Sarah boosted her order volume by 140% in six months. Her secret? Consistent base shading that made every cake look studio-lit—even under iPhone flash.
Her biggest win? A gender-reveal cake for a local influencer that got 28K likes. “The airbrush gave me that soft pink-to-blue fade you can’t fake with sponge daubing,” she says. “Clients pay $50 extra just for ‘that misty look.’”
Airbrush Food Coloring FAQs
Can I use regular food coloring in an airbrush if I dilute it?
No. Even diluted, glycerin-based dyes leave behind resin-like deposits that corrode seals and clog micro-nozzles. Stick to products labeled “airbrush-safe” and “edible.”
Is airbrush food coloring safe to eat?
Yes—if it’s FDA-compliant and sold by reputable baking brands (AmeriColor, Chefmaster, Wilton). Avoid craft-store airbrush paints—they may contain non-edible pigments.
How do I store airbrush food coloring?
Keep bottles tightly sealed in a cool, dark place. Most last 18–24 months unopened; 6 months after opening.
Can I airbrush chocolate?
Absolutely—but work quickly on tempered chocolate that’s just set (around 88°F). Use cocoa-butter-based airbrush colors (like Magic Line) for best adhesion.
Do I need a mask when airbrushing food?
Not for toxicity—but a dust mask helps if you’re sensitive to fine mists. Ensure good airflow regardless.
Conclusion
Airbrush food coloring isn’t just for TV chefs or competition bakers. With the right tools and technique, you can elevate birthday cupcakes to gallery-worthy art in minutes—not hours. Remember: skip the grocery-store dyes, invest in edible-specific formulas, and clean like your compressor depends on it (because it does).
Now go make that cake look less “Pinterest fail” and more “Michelin dreams.” And hey—if your first attempt looks like a foggy sunset drawn by a sleepy raccoon? That’s normal. My third cake looked like radioactive moss. We’ve all been there.
Like a 2000s Sidekick flip phone, your airbrush deserves respect, charging, and occasional deep cleaning. Treat it right, and it’ll deliver chef’s kiss results every time.
Haiku for the road:
Mist paints velvet skies,
Cake becomes canvas—soft hues bloom.
No brush needed now.